
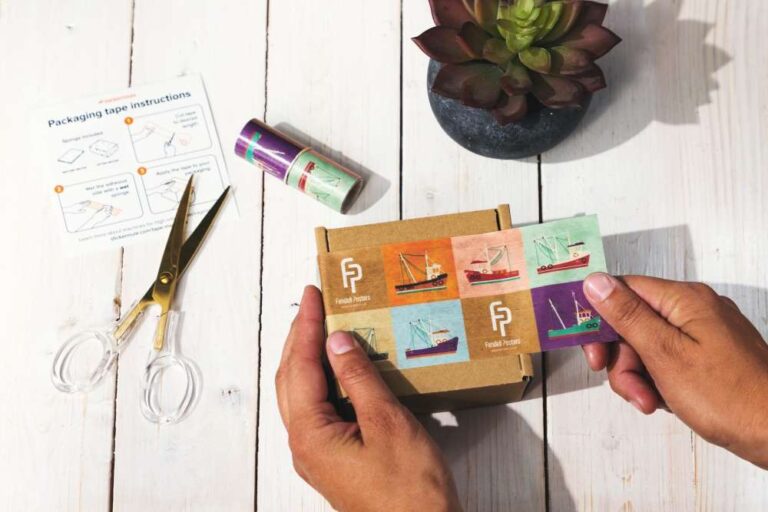
A self-made cardboard box offers space for a light gift and can be individually designed. It succeeds most reliably with a clear cut and a sample piece. Plan the inner dimensions according to the content and take into account the material thickness. For heavy products, fragile goods or parcel shipping, a packaging designed for this purpose should provide the necessary protection.
Plan cutting and material thickness
You need suitable cardboard, a ruler, a cutting tool, a protected work surface and a suitable adhesive connection. Set floor, side walls and adhesive flaps on a sketch. A rectangular box is easier for a first attempt than a round construction. Mark cut lines and fold lines differently so that no load-bearing tab is accidentally cut off when working.
The thickness of the cardboard influences how narrow corners can be folded and sits up like a lid. Therefore, do not only calculate with the visible outer edges of the cut. A sample of residual material shows where encores are needed. Check that the gift fits easily in and can be removed later without strong pulling.
Cutting, folding and connecting the box
Cut the outer contour controlled along the marked lines. Keep your fingers out of the cutting area and use a suitable base. Fold the side walls along the intended lines upwards. If the material is stronger, suitable grooves will help; however, do not cut the cardboard at a folding point if it is to hold the wall together.
First put the mold together without glue and control the corners. Then glue the flaps evenly to the intended contact surfaces. The box must not stick together with its inside. Let the compound completely dry according to the manufacturer’s specifications and fix it only so that the surfaces are not damaged.
Test the lid and interior before design
A separate lid requires some game to fit the finished box. A sample is also useful for this purpose. A too narrow lid can deform the side walls; a very loose lid dissolves when carrying. Check the fit before covering both parts with decorative paper or permanently glued.
A simple interior can arrange small, already protected gifts. Do not overload the box and wear it from below as far as possible. Decoration should not block the opening. If the box is to be shipped, it needs a stand-alone shipping package with matching fixation. The self-built box remains the presentation case and does not have to assume an untested supporting protective function.
Comments
No comments yet. Share your experiences on this topic.